

Table of Contents
Build a TetherBox on Your Own Hardware
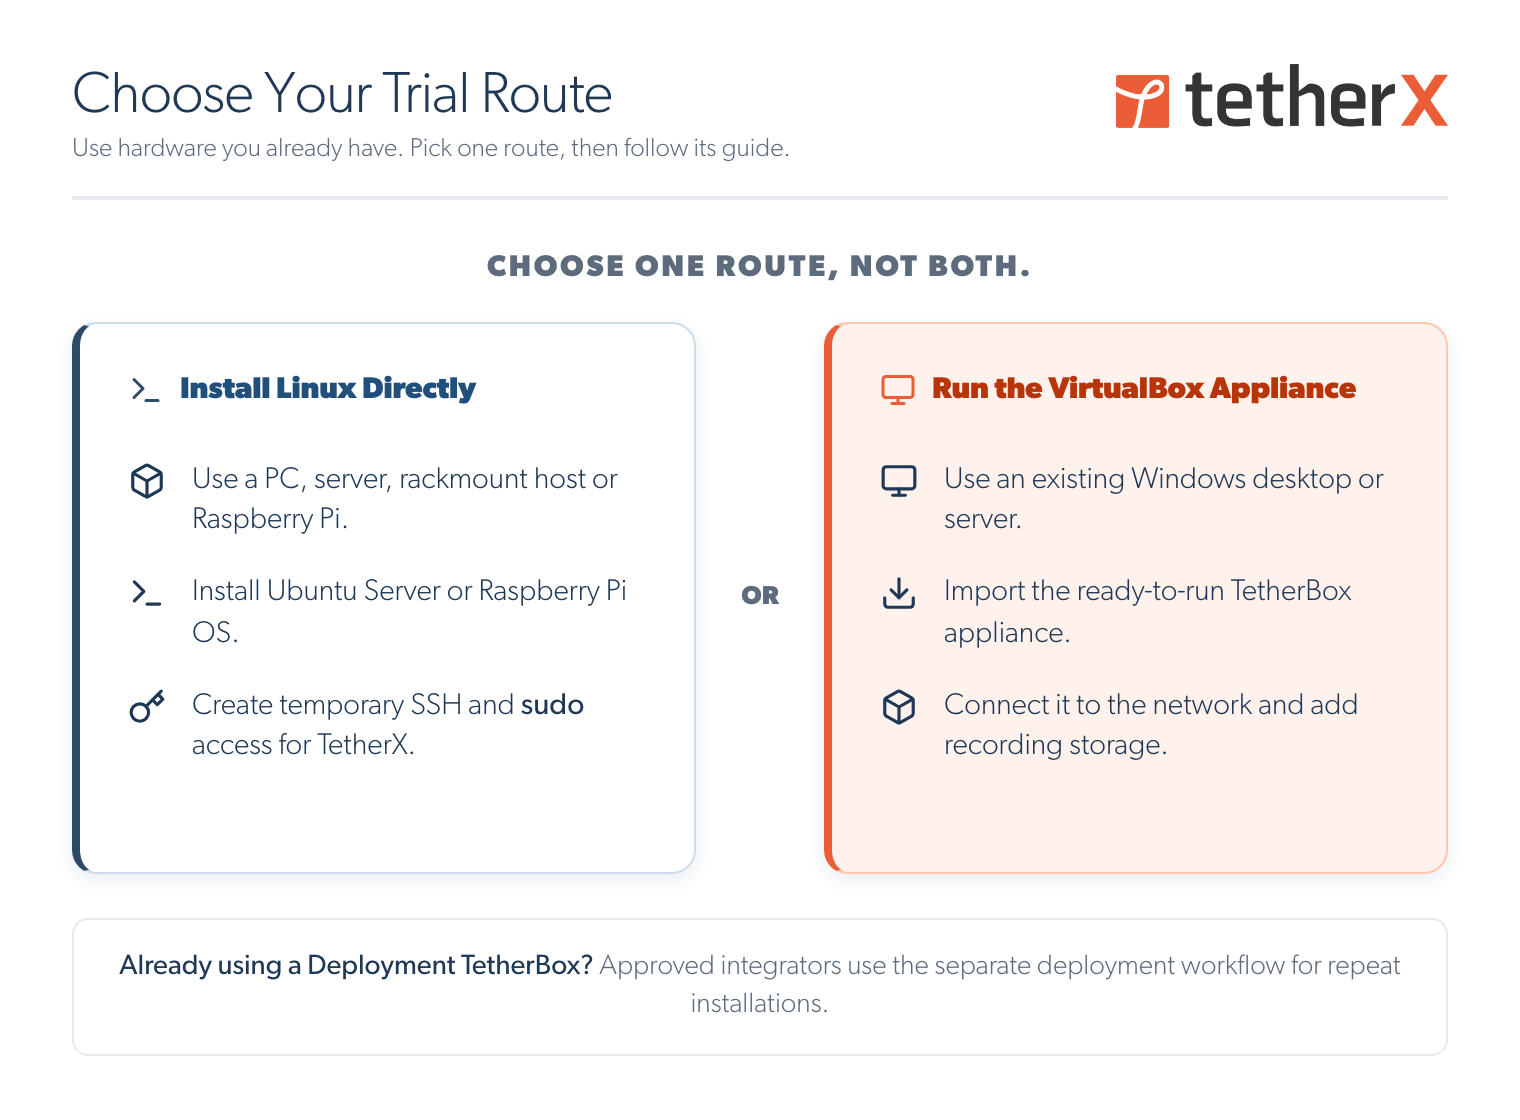
For a trial, run the TetherBox software on hardware you already have. Choose one of the two routes below. Once the host is online, TetherX completes the installation remotely.
Choose a Build Route
Run the VirtualBox Appliance
Use this route when you have an existing Windows desktop or server and prefer not to install Linux.
- Install Oracle VirtualBox (opens in a new tab) on the host.
- Import the TetherBox appliance image (
.ova) supplied by TetherX. - Set the virtual machine to bridged networking and add a recording disk.
- Start it, then activate the TetherBox.
Follow the VirtualBox guide for the full steps and screenshots.
Install Linux Directly
Set up the host with the operating system, network access and temporary account TetherX needs to complete the installation.
For a direct Linux installation, prepare:
- Hardware and recording storage sized for the site. See Hardware Specifications and Storage Hardware Recommendations.
- A working Internet connection.
- SSH enabled and reachable by TetherX for the software installation.
- A temporary account with
sudoaccess. TetherX removes this account when the installation is complete.
Prepare an x86 Host
Install Ubuntu Server 26.04 LTS (opens in a new tab) on Intel or AMD hardware. Use a minimal server installation without a desktop environment. A compact mini PC suits a smaller deployment; use a rackmount server where camera count, storage or expansion needs are larger.
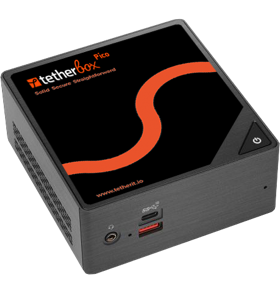
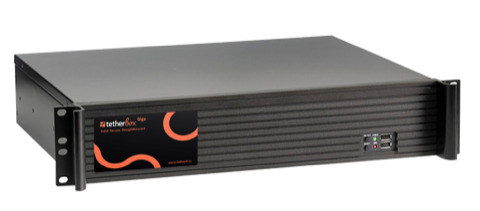
Create these partitions during installation:
| Mount point | Format | Minimum size | Purpose |
|---|---|---|---|
/ |
ext4 | 8 GB | Operating system and TetherX software |
| swap | swap | 2 GB | System memory swap |
/data |
ext4 | Largest available space | Footage and recording data |
Increase the root partition if the host will run other services. Keep recording storage separate from the operating-system drive where possible.
Prepare a Raspberry Pi
Use Raspberry Pi Imager (opens in a new tab) to install Raspberry Pi OS (64-bit) Lite. Raspberry Pi 4 and Raspberry Pi 5 are supported.
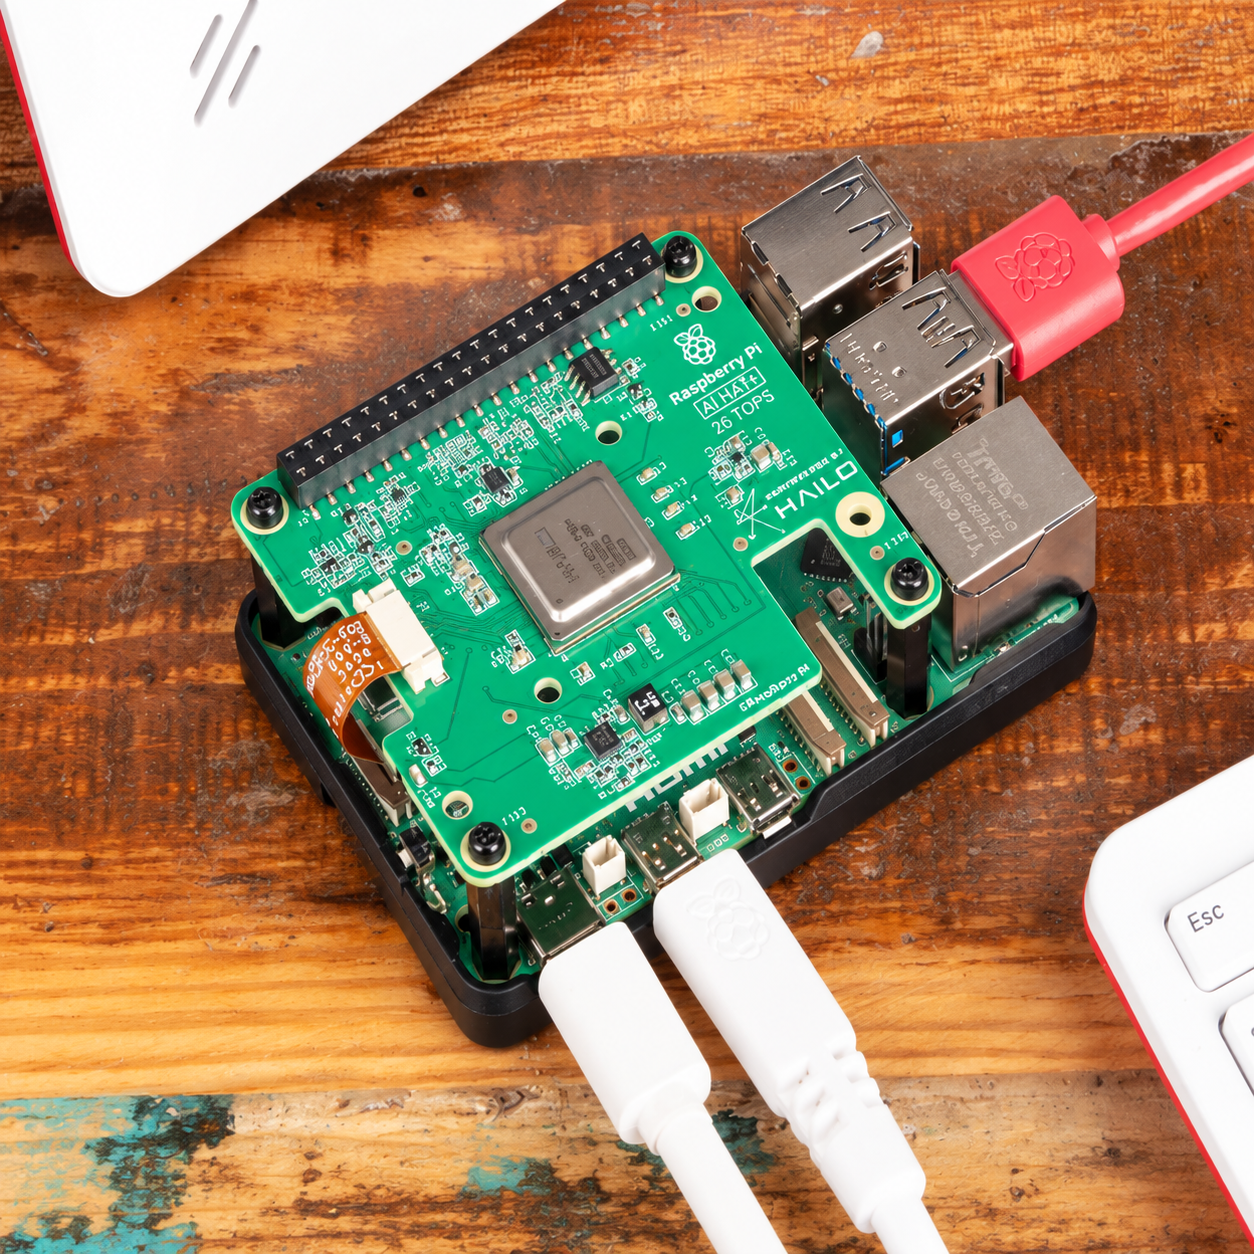
Before writing the card, open the Imager customisation settings and:
- Enable SSH.
- Create a
tetherxuser with a secure temporary password. - Set the network details needed for the first boot.
Use the official power adapter with Raspberry Pi 5. Do not use the MicroSD card for continuous video recording. Add suitable USB or M.2 storage, as described in Raspberry Pi TetherBox and Storage Hardware Recommendations.
Warning: A MicroSD card is suitable for the operating system, not continuous video recording. Use suitable USB or M.2 storage for footage.
Let TetherX Complete the Installation
Once the host is online, contact TetherX with:
- The public IP address or hostname.
- SSH port, if it is not the default port
22. - The temporary username and password.
TetherX connects to the host, installs the software and removes the temporary account. Keep the host powered on and connected until the work is complete.
Tip: The temporary account is removed as part of software installation. Use an account created only for this handover.
Attach Recording Storage
TetherX writes footage below this path:
/data/{site-name}/{tetherbox-serial}/{partition-id}
Each suitable storage device appears as a partition ID. TetherX spreads footage across available devices, so a failure of one does not remove every minute of a recorded event.
For one RAID or NAS volume, mount it here instead:
/data/{site-name}/{tetherbox-serial}/internal
Related Articles
- TetherBox Deployment Guide - approved-integrator deployment workflow
- Hardware Specifications - size the host and recording storage
- Storage Hardware Recommendations - choose recording drives
- Raspberry Pi TetherBox - Raspberry Pi hardware guidance
- Running TetherBox in VirtualBox - run the ready-to-use appliance in a virtual machine
- Where to Run TetherBox Software - choose an on-site or central deployment model
Referenced in: