

Table of Contents
Troubleshooting Kit
Pack this equipment before an on-site visit. Use the Pre-Flight Checklist to confirm the site details, credentials and required interfaces before travelling.
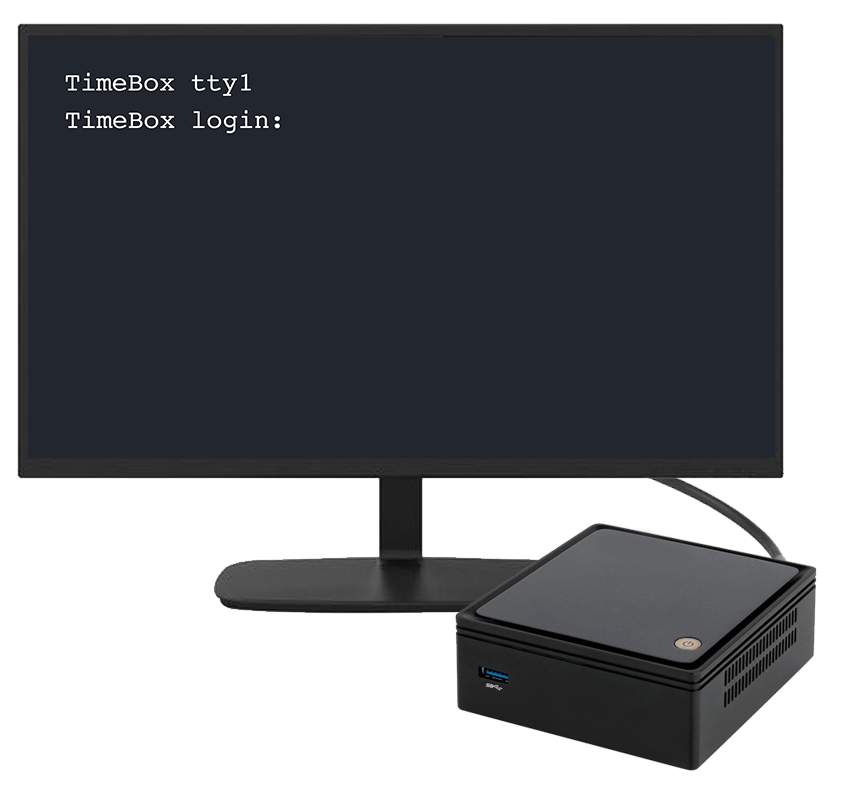
Reach a TetherBox Locally
Use local console access when the unit is not reachable over the network.
- A portable monitor with HDMI input.
- A USB keyboard.
- The display adapters used by the TetherBox models you support: Micro-HDMI for Raspberry Pi 4 and 5, HDMI, Mini DisplayPort or DVI.
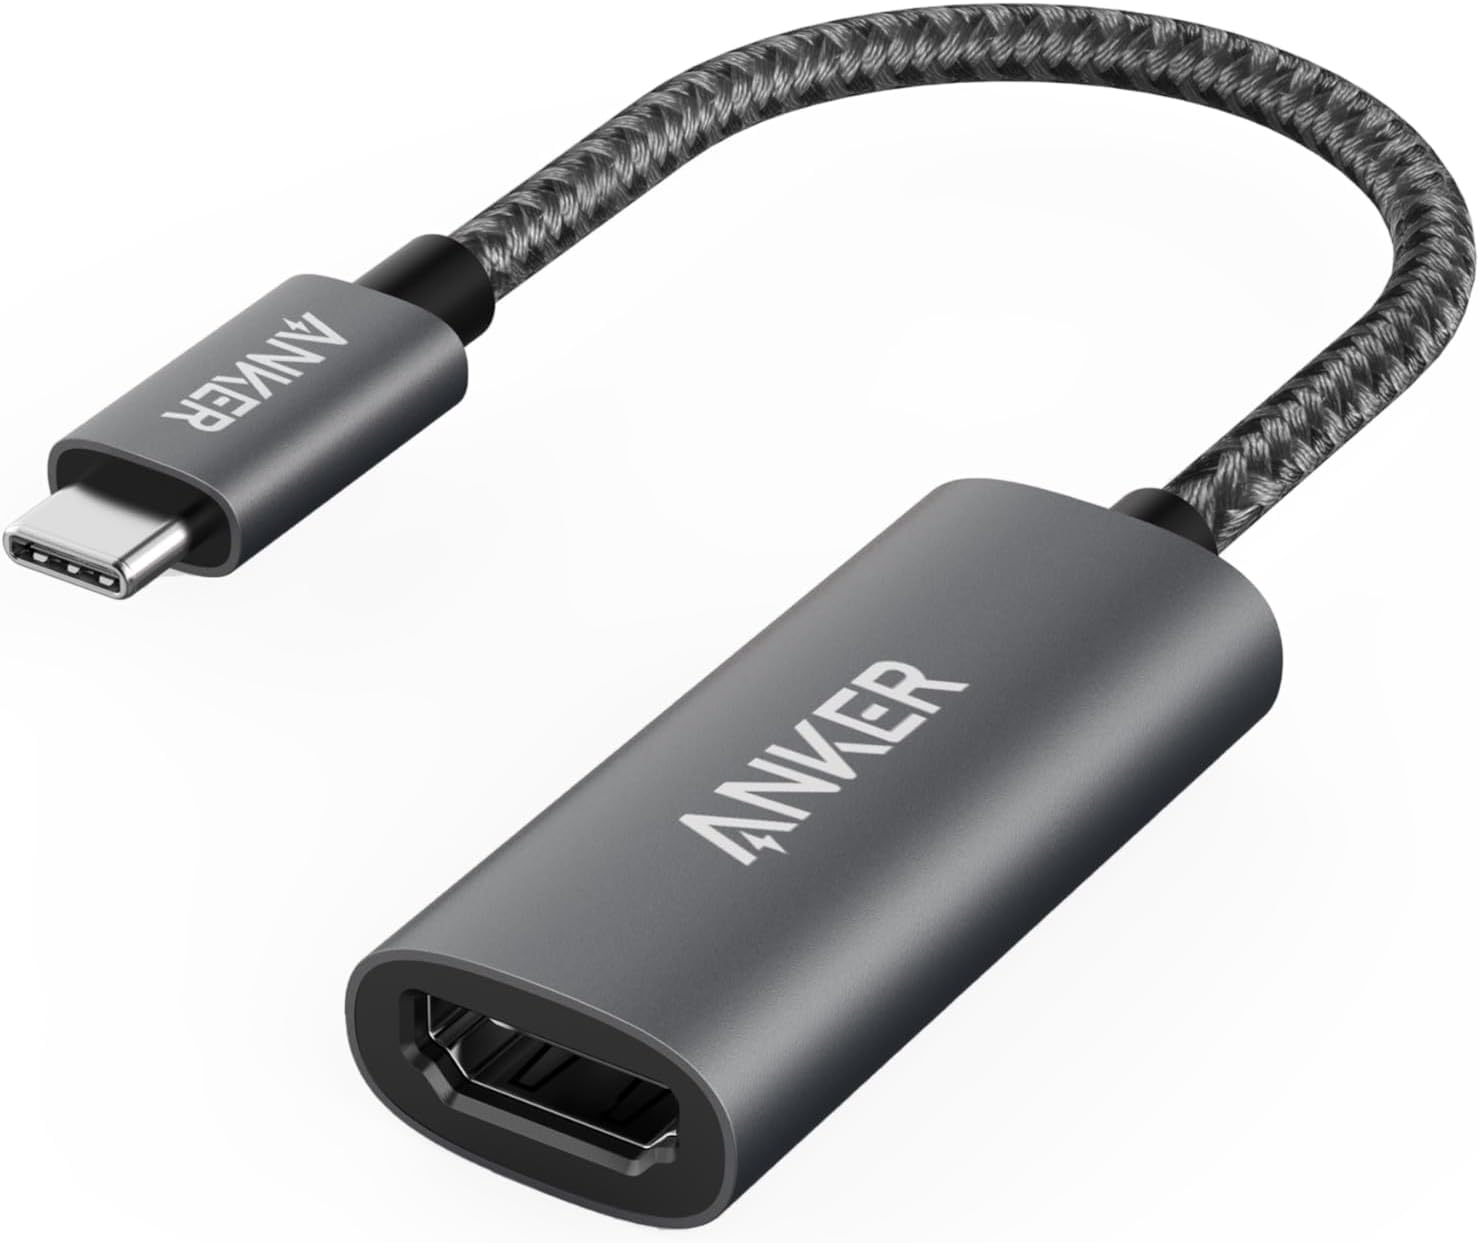
- A USB-C-to-HDMI adapter for compatible display connections.
- A laptop with Ethernet, or a USB Ethernet adapter.
This is the local-console setup you are aiming for: display and keyboard connected directly to the unit.
Test the Site Network
- Patch leads in short, medium and long lengths.
- Cable tester, crimping tool and spare RJ45 connectors.
- PoE tester and injector, to test a camera away from the site switch.
- Small spare PoE switch.
- 4G or 5G hotspot, to separate a site Internet problem from a TetherBox problem.
Tip: Test an affected device through the hotspot before changing site equipment. It quickly separates a site Internet fault from a local device fault.
Carry Power and Replacement Parts
- Known-good power supplies for the TetherBox models you service. Match the rating on the original supply. Raspberry Pi 5 requires the official 27 W USB-C adapter.
- A pre-loaded replacement system drive for each supported model. See Replacing a TetherBox Drive.
- Suitable recording-drive cables or enclosures where the site uses external storage.
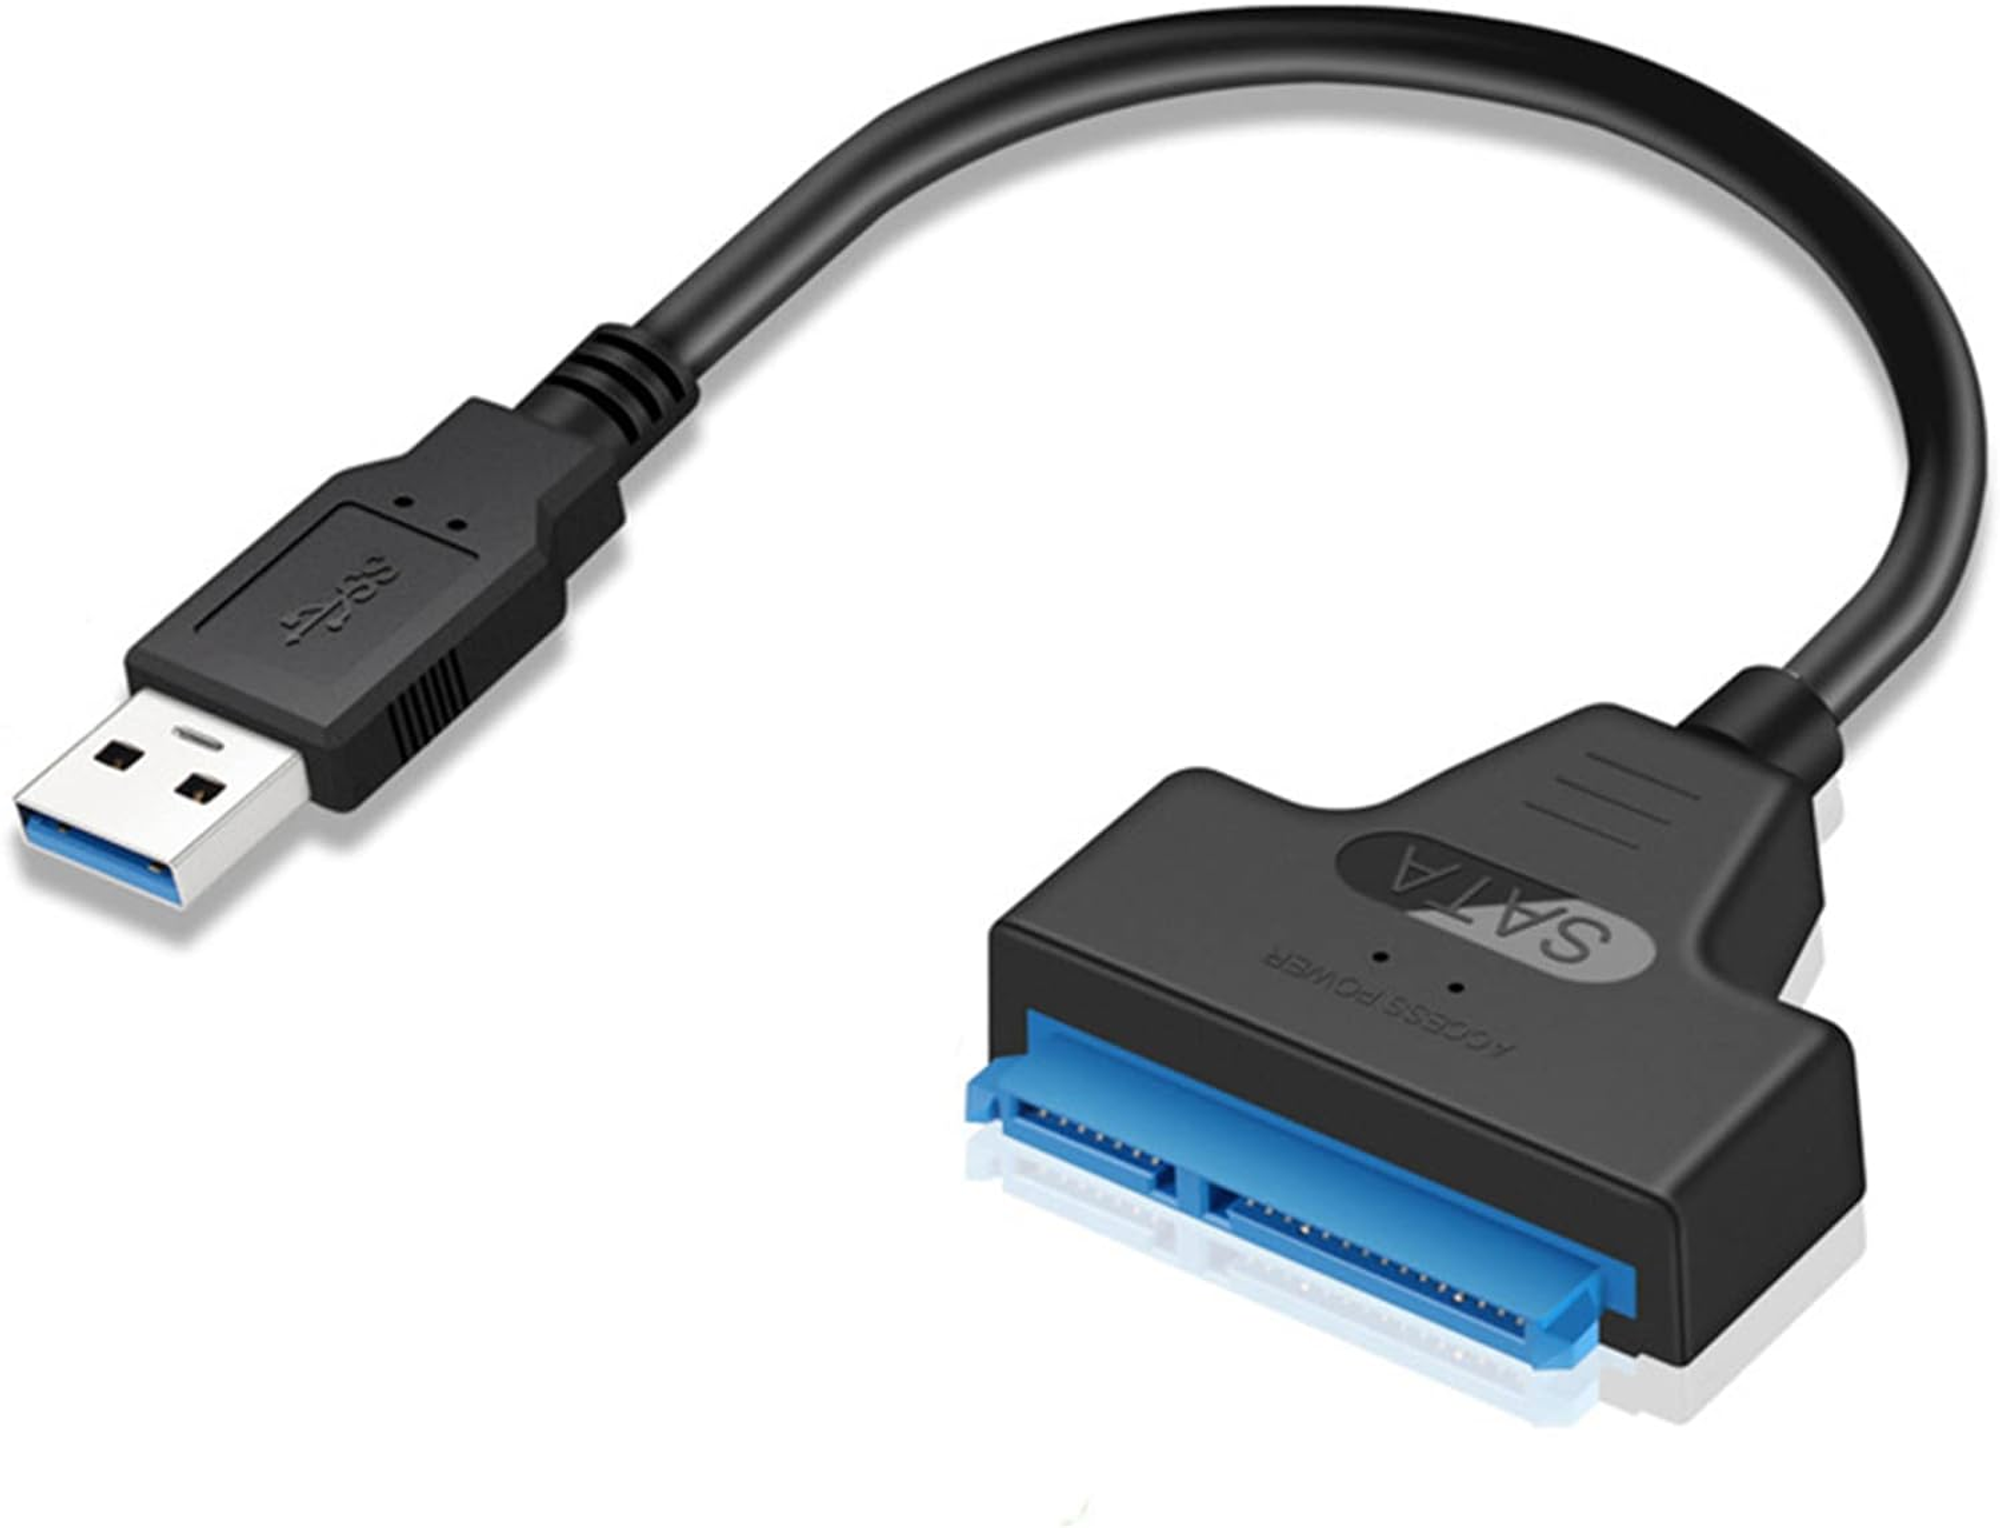
Boot each replacement drive before putting it in the kit, then refresh it whenever its installed software is no longer current. Approved integrators can use the TetherBox Deployment Guide; other custom builds use Installing OS.
Tip: Test each replacement drive before travelling. A spare that has not booted is not a recovery plan.
Bring Basic Tools
- Phillips and flathead screwdrivers.
- Wire cutters and strippers.
- Multimeter.
- Label maker.
Install These Laptop Tools
- An IP scanner, such as Fing or Advanced IP Scanner.
- ONVIF Device Manager, for checking a camera's ONVIF support.
- VLC, for testing a camera stream. See Testing with VLC.
- The manufacturer utilities used at your sites, such as Dahua ConfigTool and Hikvision SADP.
Check the Kit Before You Leave
- Boot every replacement drive and confirm it works.
- Charge the laptop, phone, hotspot and portable monitor.
- Check every adapter is in the bag, including the one used on the previous visit.
Related Articles
- Pre-Flight Checklist - what to confirm before travelling
- TetherBox Went Offline - diagnose an offline unit
- TetherBox Troubleshooting - system diagnostics
- Camera Troubleshooting - camera connectivity and recording faults
- Tunnelling to Network Devices - reach on-site equipment remotely