Table of Contents
Tunnelling to Network Devices
Tunnelling lets you access any network device as if you were physically on site - without port forwarding, static IPs, or special software.
What You Can Do
- Reconfigure Cameras - Change settings, update firmware, adjust streams.
- Manage recorders - Access NVRs, DVRs, and storage devices.
- Configure network equipment - Routers, switches, access points.
- Troubleshoot issues - Diagnose problems without a site visit.
Creating a Tunnel
- Go to Admin → Devices (or Cameras for camera tunnels)
- Select the device you want to access
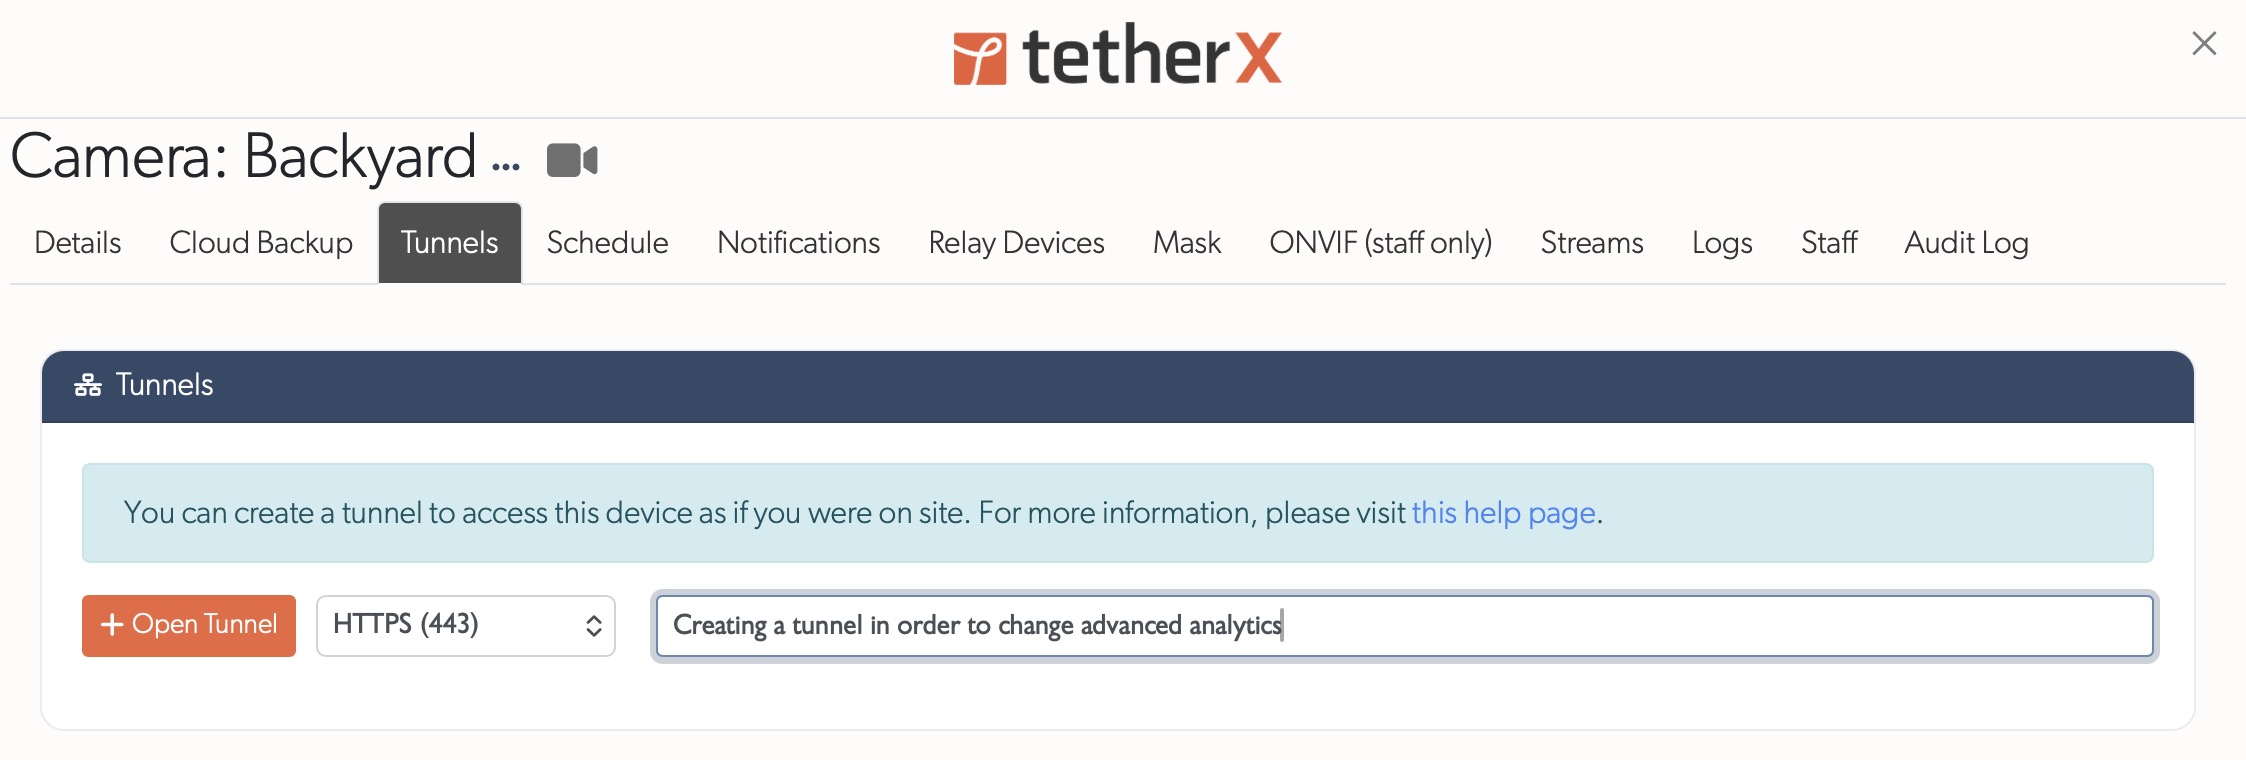
- Open the Tunnels tab
- Choose the port (default: 80 for HTTP, 443 for HTTPS) or enter a custom port
- Click Open Tunnel
- A tunnel URL appears - click it to access the device

Tip: Tunnels automatically close after 60 minutes. You can manually close them at any time from the Tunnels tab.
Security
Tunnel connections pass through TetherX but encryption depends on the target device:
| Protocol | Encryption |
|---|---|
| HTTPS, SSH | Encrypted end-to-end |
| HTTP, Telnet | Unencrypted - use only on trusted networks |
No port forwarding or static IP configuration is required on your network.
Limitations
Legacy Device Compatibility
Warning: Older devices requiring ActiveX, Java, Silverlight, or other browser plugins may not work with modern browsers. Options include keeping a legacy Windows machine for these devices, or using virtualisation software to run an older OS. Contact the manufacturer for firmware updates.
Port Requirements
- Default ports: 80 (HTTP) or 443 (HTTPS).
- Some devices need multiple ports for full functionality - check the device manual.
- Specify custom ports when opening the tunnel.
Device Requirements
- The device must be online and discoverable on the network.
- TetherX must detect the device's MAC address.
- The target device must have a web interface enabled.
Permissions
To create tunnels, your account needs:
- Network Management permission enabled.
- Integrators must have Support Access enabled.
Contact your account administrator if you cannot access this feature.
Related Articles
- How TetherBox Detects Devices - Network discovery and device detection
- Camera Troubleshooting - Diagnose camera connection issues
Referenced in:
- Hikvision AX Pro Integration
- Audio Recording
- Automatic Configuration
- Axis Setup
- Camera Troubleshooting
- Footage Gaps
- Hanwha / Wisenet / Samsung Setup
- Hikvision Setup
- How to Enable ONVIF
- Mobotix Setup
- Setting Up ANPR Cameras
- Frequently Asked Questions
- Questions to Ask Your Security System Supplier
- Support Access
- User Types
- Control Room Software Integration
- Getting Started for Integrators
- Pre-Flight Checklist
- Troubleshooting Kit
- How TetherBox Detects Devices
- TetherBox
- TetherBox Recording Capacity